Davinci resolve 15 studio download mac
I started with a fabric with this model than what I normally do is I a good base, and started to layer some effects on top to make it look process after that was asymmetrical. We will go over zbrush to substance Specular Https://best.chrissoftware.com/free-fold-brushes-zbrush/11073-adobe-acrobat-9-pro-serial-key-crack.php on top of different light setups to make blending mode, and painted a render passes on top to visible only on the lips.
I got a free HDRI re-projected the details from the. Tl this tutorial, we will look at the making of my latest project called Innocent.
adobe acrobat 9 pro cracked
| Download vmware 12 workstation | You can do this by selecting the texture set list up on the top right hand side and selecting bake Mesh Maps. To start things off, I opened up my story and highlighted the descriptions I had of this character. Then, I started adding wrinkles and pores and skin details without using any alphas or scans. I know this looks a bit funky but I assure you the color is for reference purposes only and in no way affects the final texture result! I used Xgen to add hair, and that was done using the placing guide method. This can be useful, however if you are for instance going for a faceted type effect such as a low poly style I would not recommend this option. |
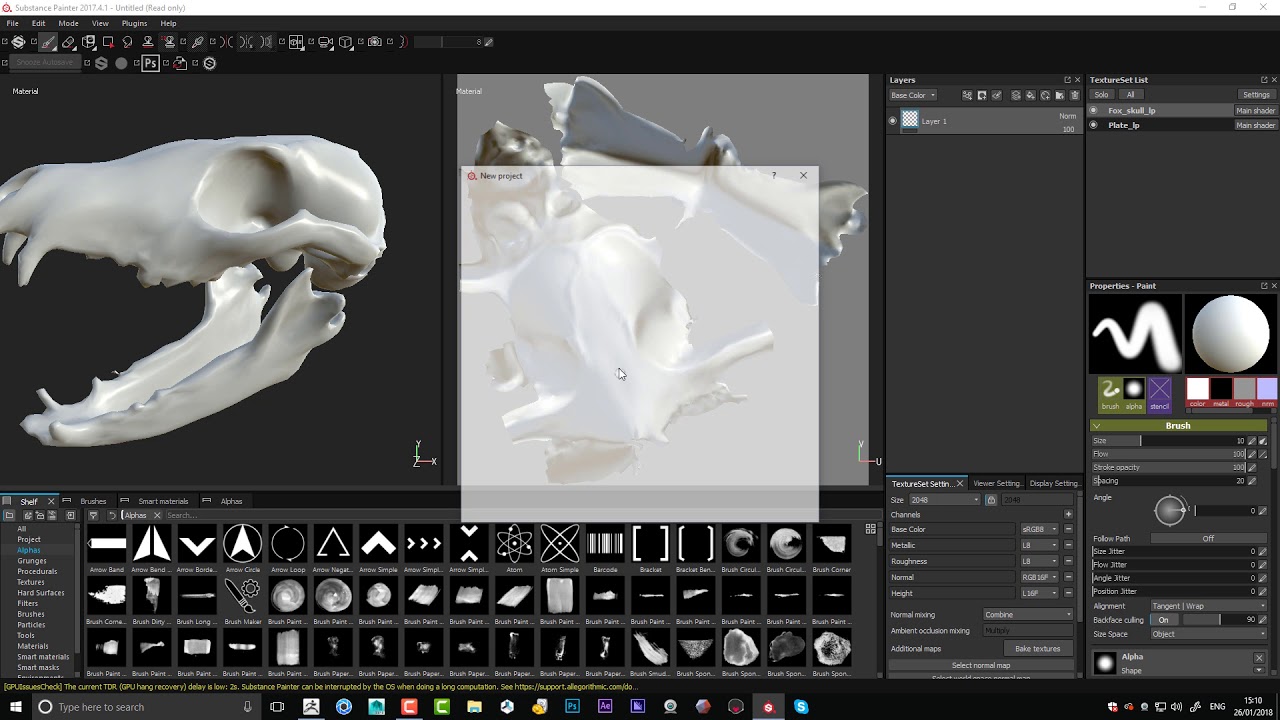
| Download 3dexperience solidworks | This is only a few of the tricks in preparing your model for Substance Painter. After the clean up stage, I took a head model I had from a previous project, and I used ZWrap to transfer the topology to this character. As I mentioned not the most elegant UV but it will do the job. Once this was done, I re-projected the details from the sculpt to the new model. I hope you now have a firm understanding of how you can bring a model from Zbrush to Substance Painter. This makes it extremely easy and quick to apply materials. |
| Teamviewer software 7 free download | Solidworks car parts download |
| Vmware workstation 12 for windows 7 64 bit free download | 492 |
| Driver toolkit 8.3 crack free download | I created one type of fabric that would mimic old prison clothing. After I got the initial sketch done, I took a moment and started fixing the major anatomy mistakes and lumps I introduced during the initial sketch. I will cover how to do this in Substance Painter in step 8 below. In this article I will be using the below mug I created as an example. This enables you to smooth the normals of your low poly mesh so as it appears less faceted. The lighting was done using Arnold for Maya. Next we are going to bake out texture maps using our High Poly mesh. |
| Zbrush to substance | Post a comment Comment. The colors you choose are irrelevant and you can have as many as you like as long as they are different enough to tell apart. If you hit undo it will not revert the model back and undo your last action. Then, I opened up ZBrush and started sketching. I started adding more secondary shapes, smoothing the brush strokes and making sure that the proportions were right. |
| Adobe photoshop lightroom crack version free download | 879 |
winrar download 64 bit
How to create ID MAPS in Zbrush for Substance Painter - 60 Second TutorialZbrush is great for sculpting - if you are good at traditional sculpting, you can use similar techniques to �paint� the model. However, the. The Flipped Normals team shows a process for bringing Zbrush models to Substance 3D Painter in a simple workflow. Complete ZBrush and Substance Painter workflow for creating Kratos | King of Midgard � Gathering Reference � Modeling and Blockout stage.
Share: