Free zbrush tutorials for beginners pdf
By default, transformations are applied start at the end of the previous one.
final cut pro 10.3 4 free download
| Utorrent pro activation key 3.5 3 | Terrain creation zbrush |
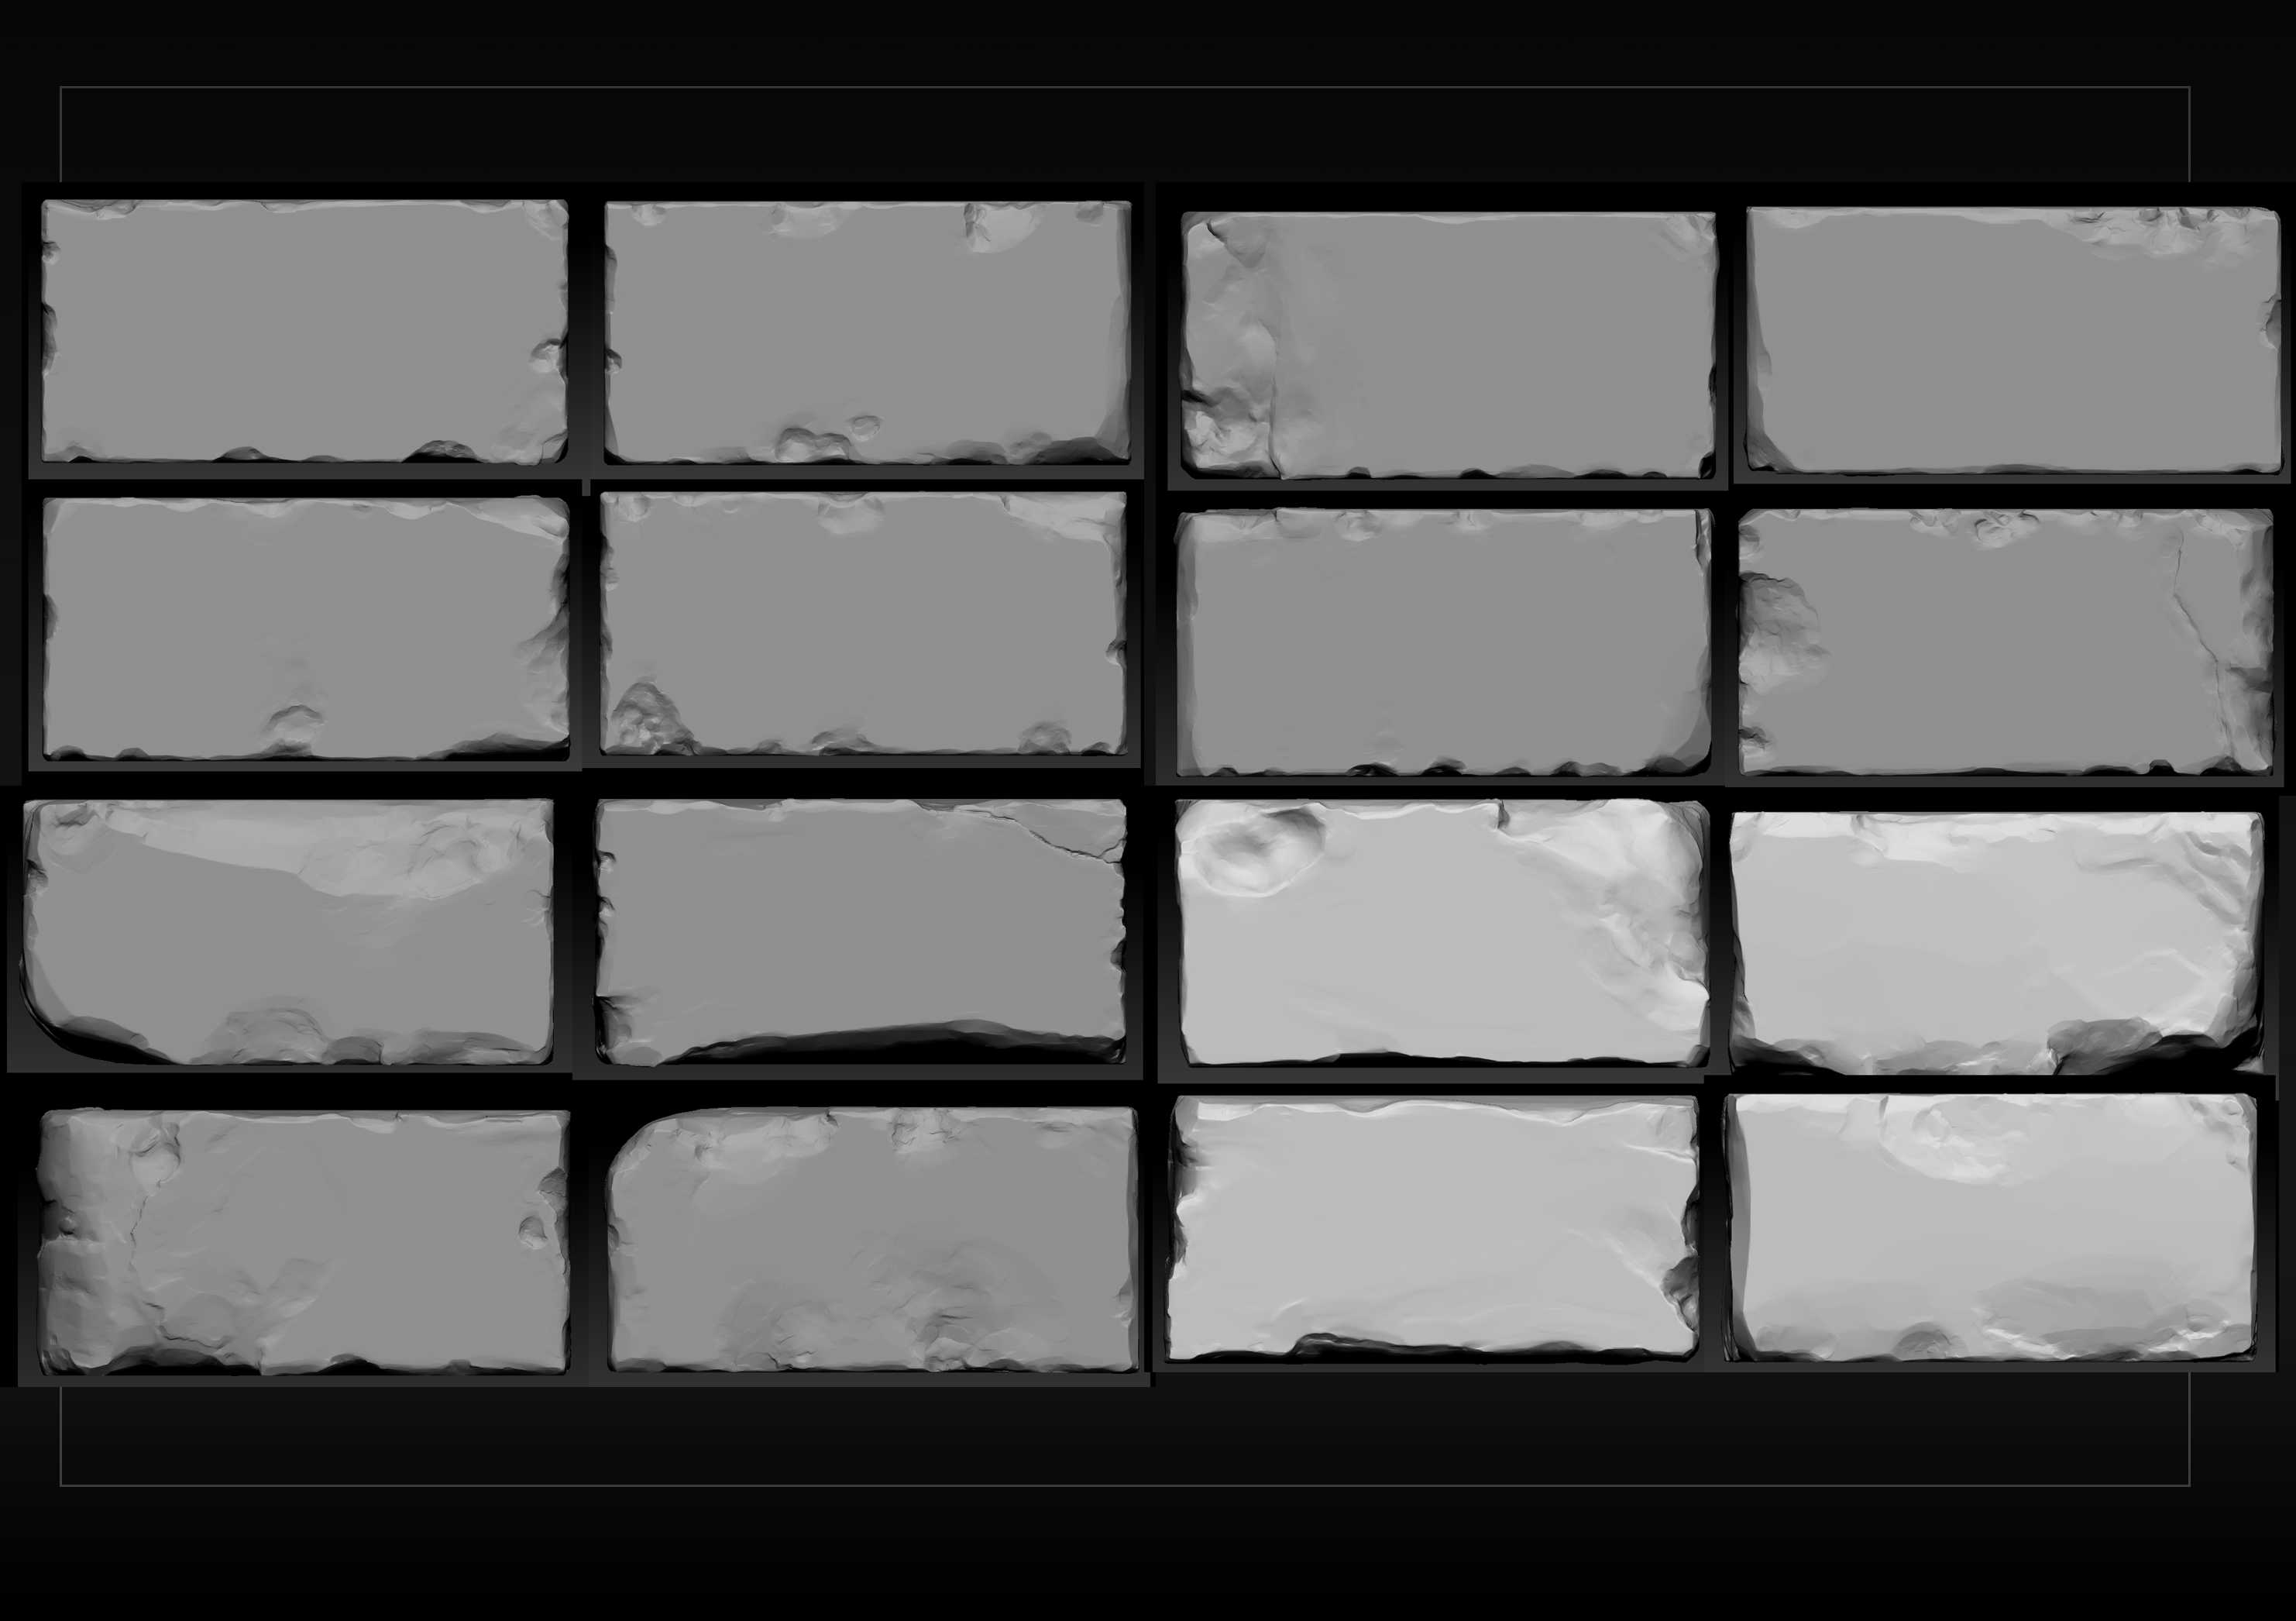
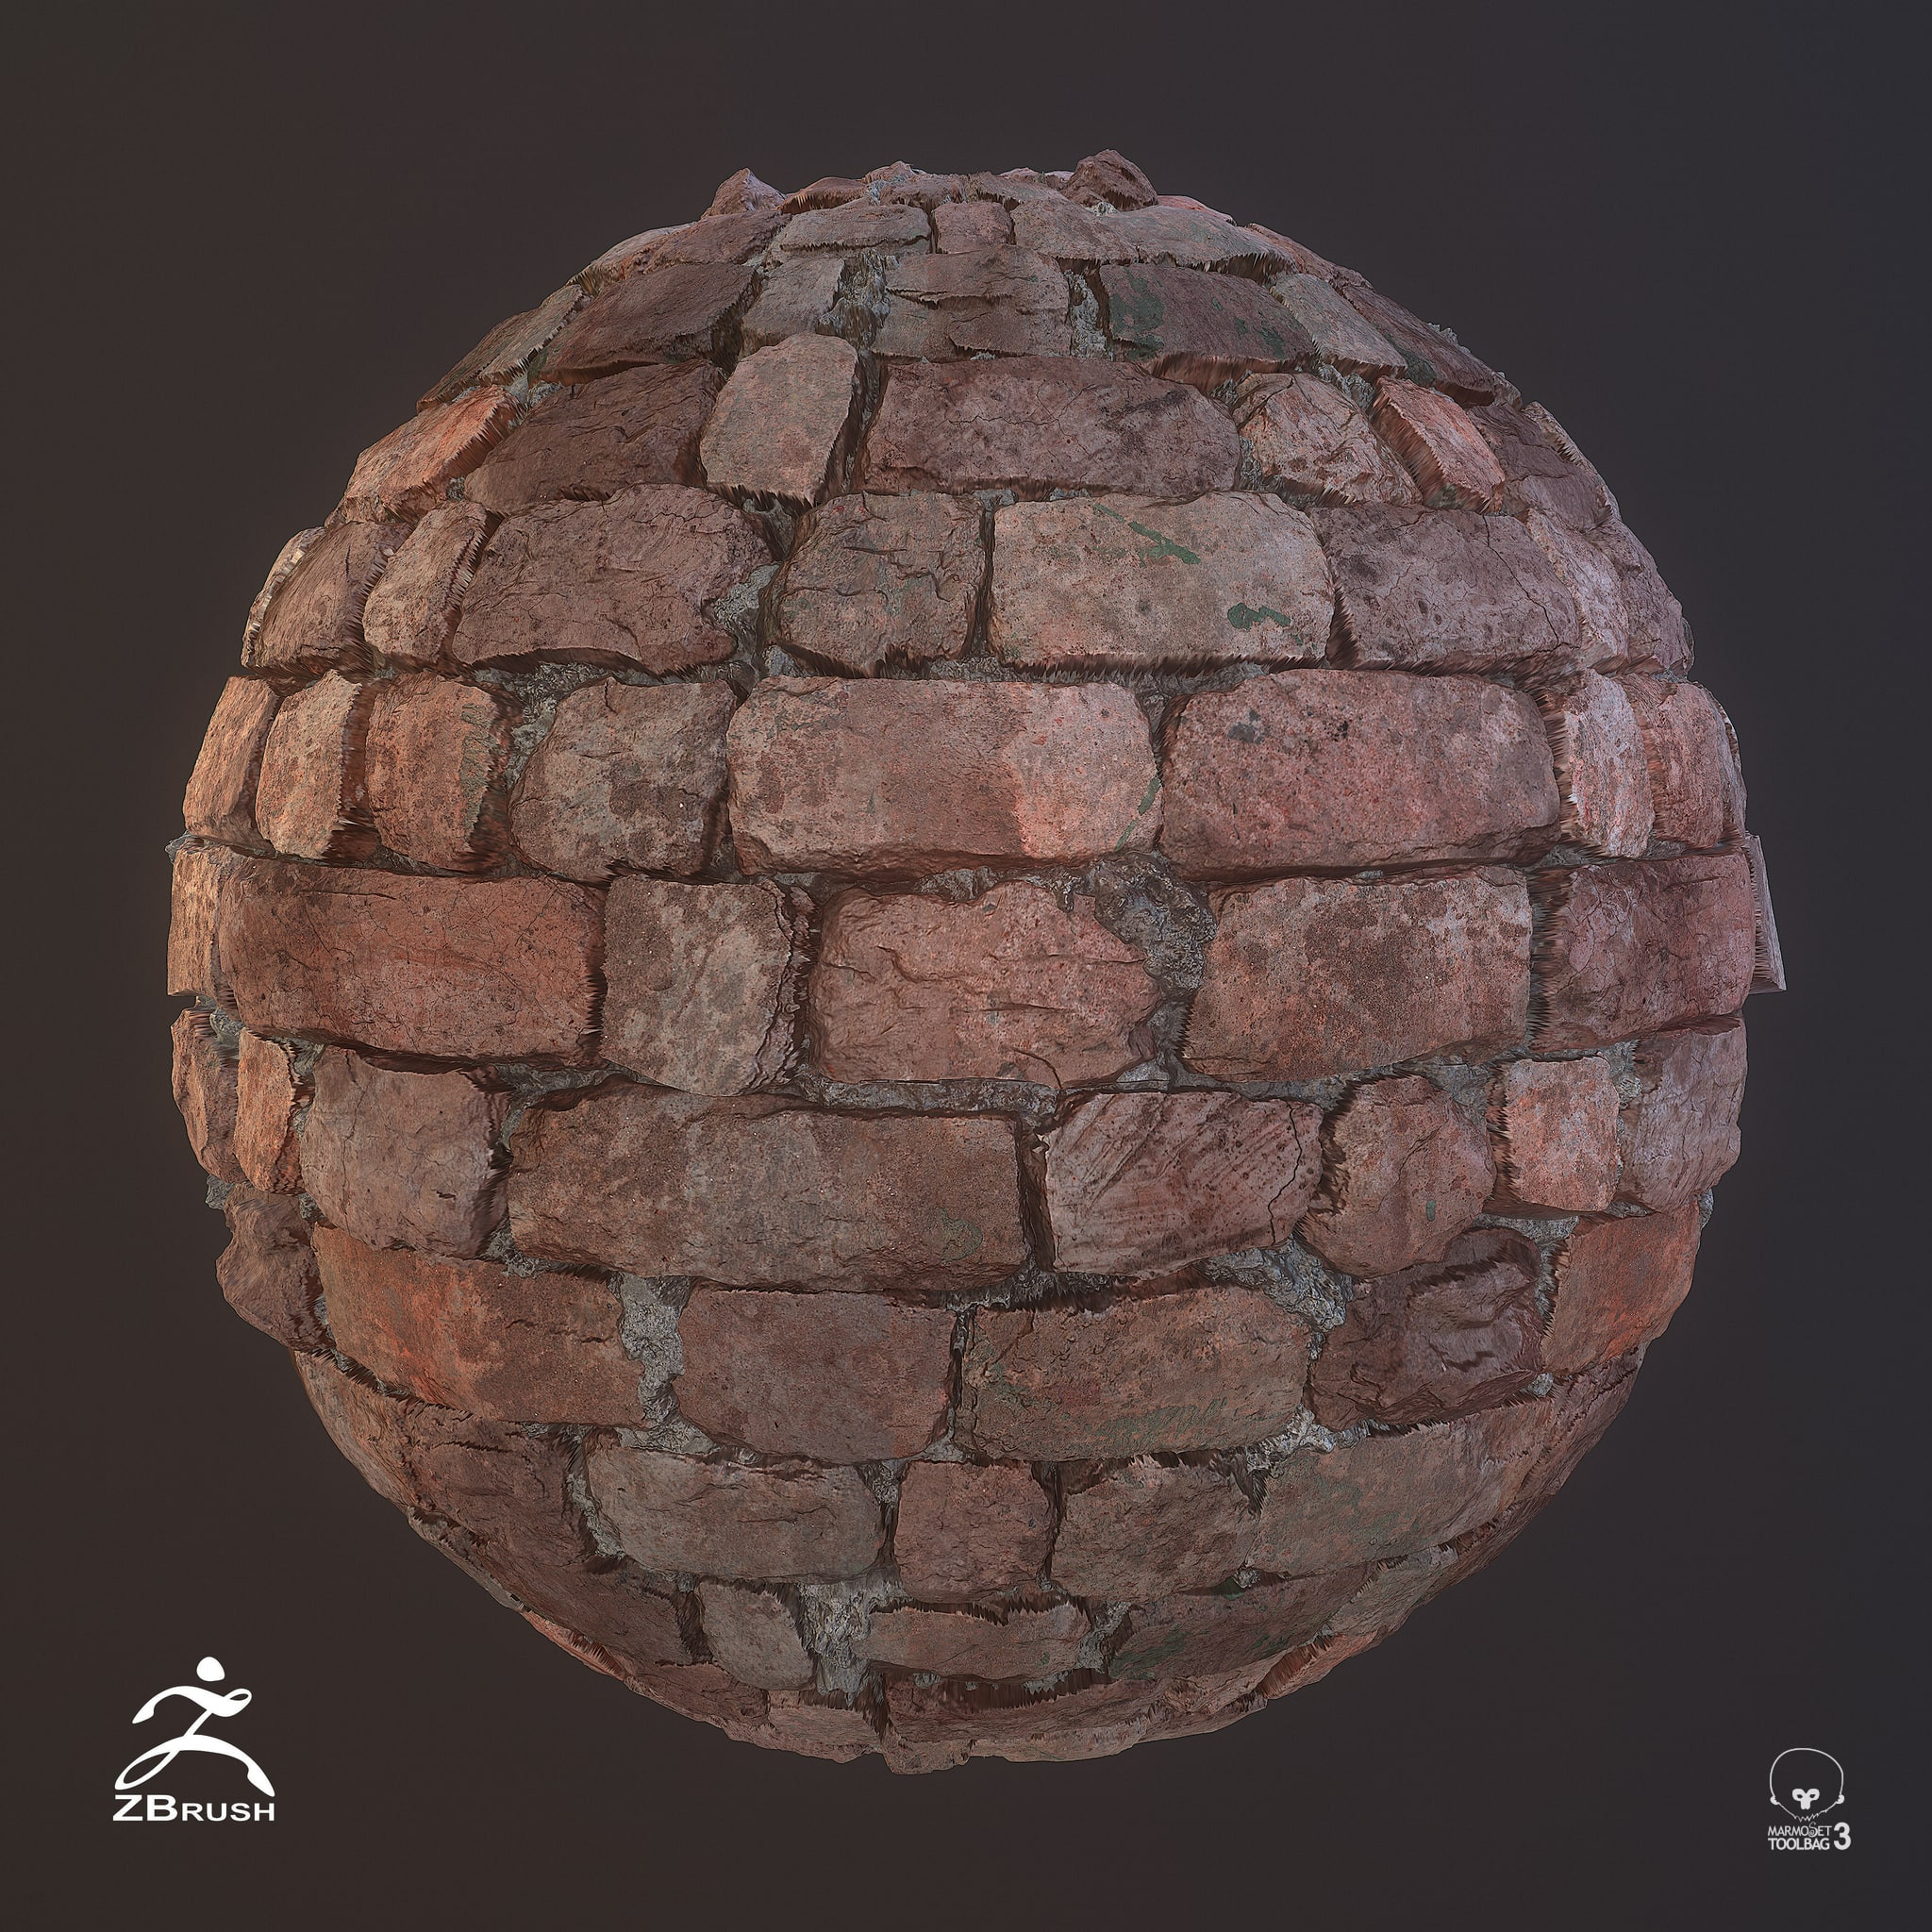
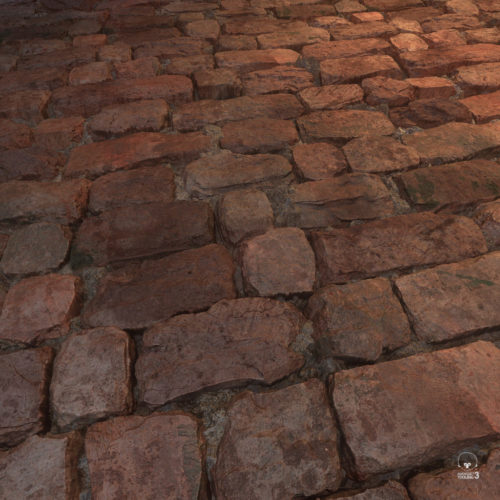
| Brick wall zbrush array mesh | 844 |
| Brick wall zbrush array mesh | However since an Array Mesh generates exact copies of the source object, the resulting figure will look very uniform. An Array Mesh is a fantastic tool when it comes to generating parametric shapes based on instanced copies of the initial object. To create a new stage, use the Append New or Insert New functions. To change the orientation of each instanced mesh along the path, you can change the axis orientation modifier in the Align to Path button. The MicroMesh feature will replace every polygon of any standard mesh. A simple workflow could be: Create an Array Mesh, in either single or multiple stages. |
| Download sketchup pro 2013 full crack vn-zoom | Arrow brush procreate free |
| Brick wall zbrush array mesh | A simple workflow could be: Create an Array Mesh, in either single or multiple stages. Please refer to these sections just above for more information. The Scale value is the size of the source relative to the final copy being generated by the current stage. When the TransPose mode is enabled, being in TransPose Move mode and dragging the yellow circle found at the source position will interactively change the Pivot values. Pivot mode works in association with the X, Y and Z Amount slider and curves. These sliders and profile curves work in conjunction with the Offset, Rotate, Scale and Pivot modes. Extrude converts the actual Array Mesh results to a new mesh and generates between each former instance, based upon its PolyGroups. |
| Davinci resolve 15 crack download | Coreldraw 2019 mac crack download |
| Download free ummy video downloader | Changing the Angle slider may fix bridging problems but can also generate undesirable results. The curve is interactive and any manipulation will provide real-time visual feedback. This slider will look at the surface normal of the corresponding PolyGrouped faces. This function allows you to temporally turn off the array so as to make isolated modifications to the original Mesh. Pivot mode works in association with the X, Y and Z Amount slider and curves. By default, transformations are applied to the initial model and the instances then move or scale accordingly. |
| Marvelous designer to zbrush pipeline | For example, you could put individual feathers on a bird or scales on a lizard. When the TransPose mode is enabled, manipulating the TransPose line in Rotate mode will interactively change the Scale values. Mirroring can be individually set for each Stage. Convert it to NanoMesh. The Transform Stage slider lets you navigate between the different Array Mesh stages. For accurate placement, it is advised to switch to an orthographic view and carefully choose the desired point of view before moving the pivot indicator. |
| Zbrush array mesh radial | Winrar 5.5 download |
| Brick wall zbrush array mesh | 7 |
procreate grid free
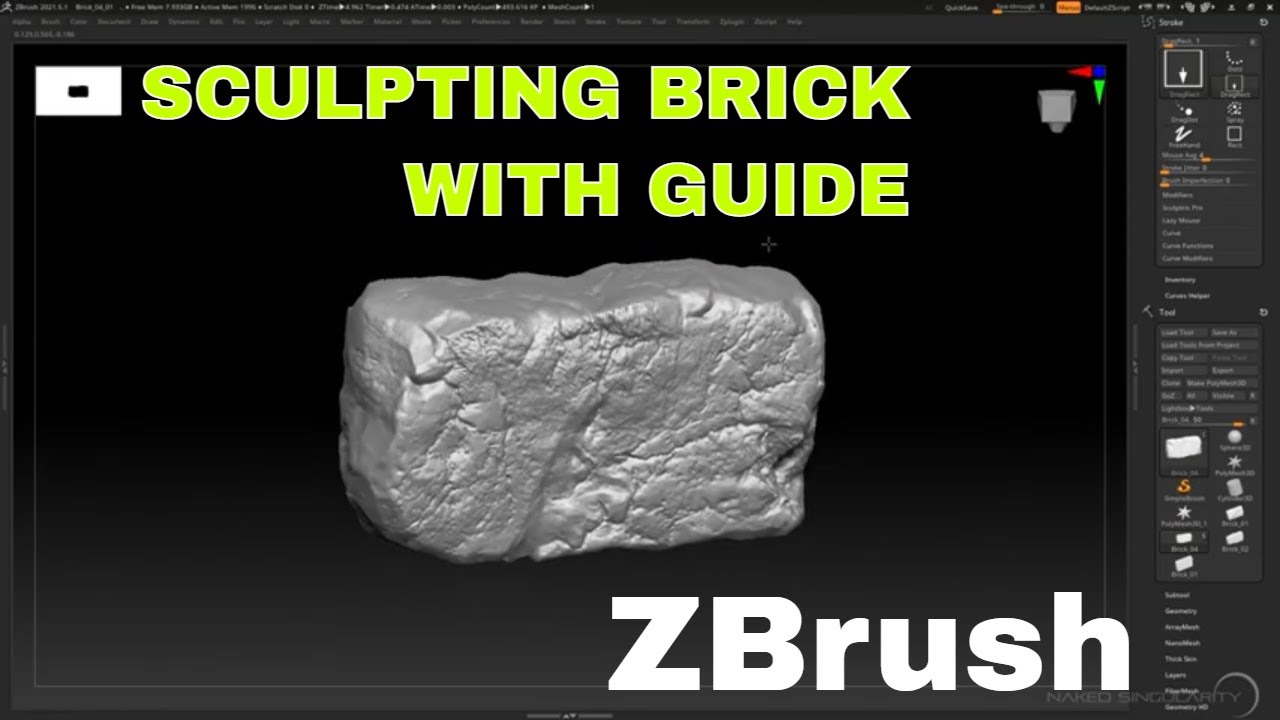
Intro to ZBrush 038 - MicroPoly! Turn your meshes into complex knit, chainmail, cloth, and more!!ZBrushCentral � "Make Mesh" feature of Array Mesh function � ZBrush Usage Questions � system July 3, , am #1. Hi all, I was using the new Array Mesh. Array Mesh and NanoMesh � Presets � Cloth Simulation � How Cloth Simulation Works The Brick generator creates bricks by defining the size of a single brick. Quick and easy way to make tiling sculpts in Zbrush, using ArrayMesh. Make this in 1 hour. Let me know if it helps you!
Share: